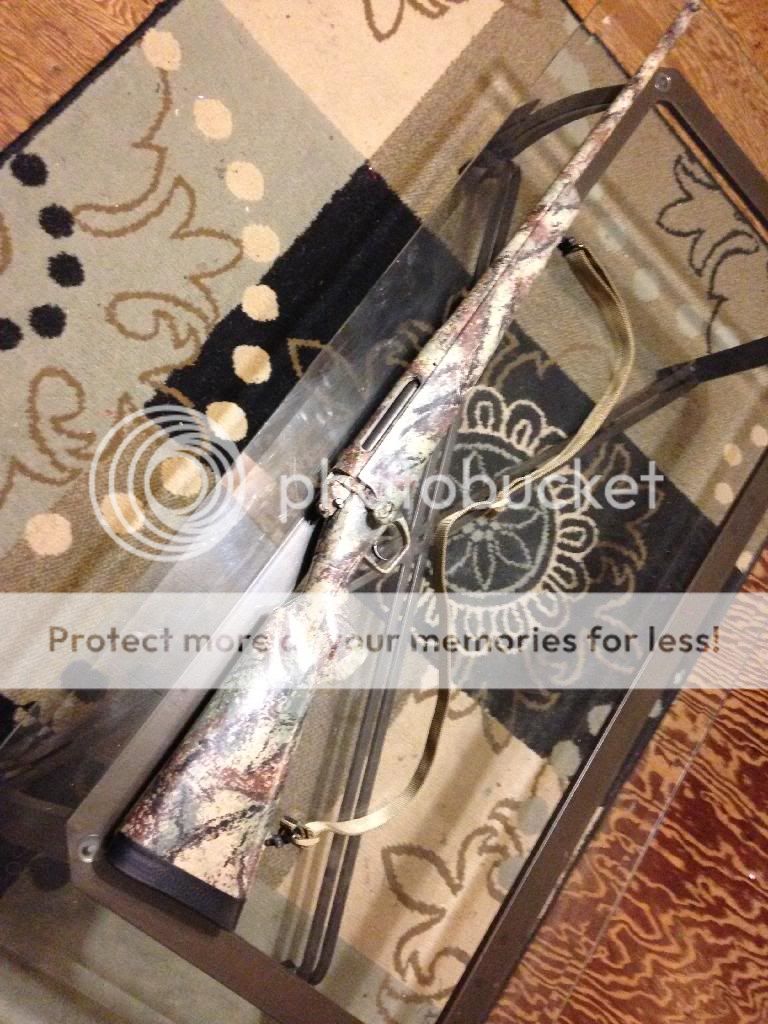
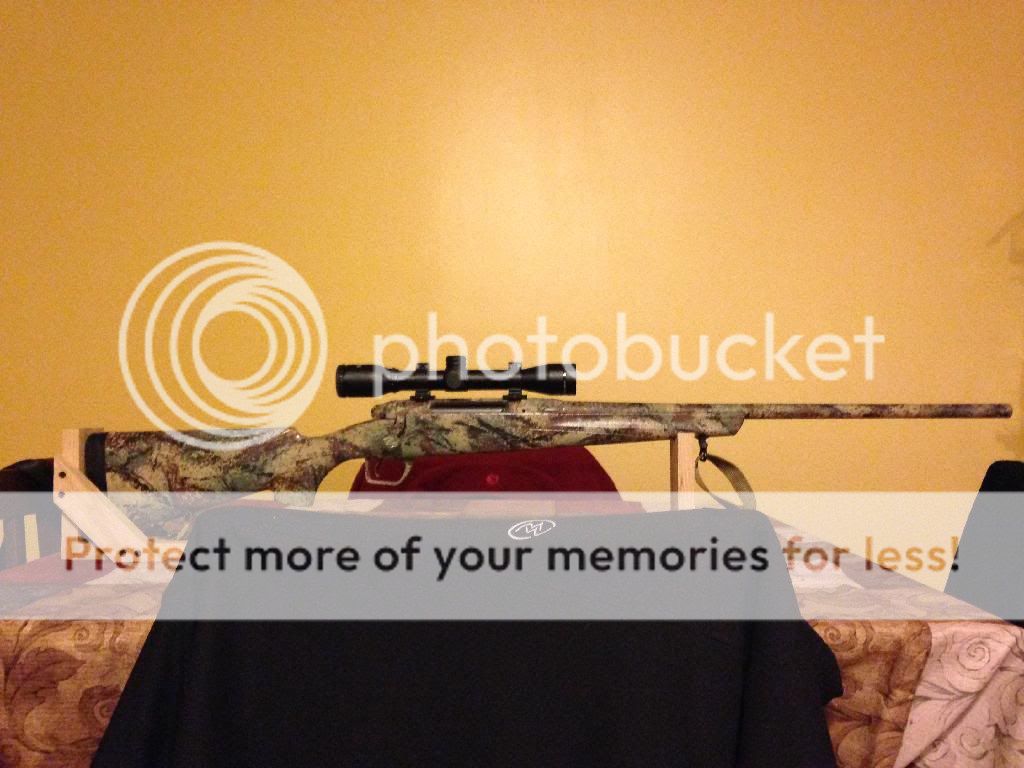
Hello all,
I am a tinkerer at heart and decided I was going to go ahead and modify the factory stock now that there are replacements on the market. Long, cold winters mean I have plenty of time to play around with the factory plastic.
The plan:
1. Stabilize the fore end.
2. Bed the action
3. Dampen the hollow buttstock
4. Paint the stock- some form of camo for sure.
To date:
1. Have fully prepped the internal surfaces of the fore end. Lots of mechanical locks, fully roughened surfaces, pinning holes drilled. Removed the upper portions of the ribs that surround the barrel as I will be bedding and floating the barrel when I bed the action. The area for the recoil lug has been filled with modeling clay to keep any epoxy out until bedding. I am waiting on the Marine-Tex Grey structural epoxy and 3M micro-bubbles to arrive. By adding the 3M micro-bubbles I will be able to reduce the weight of the structural epoxy, to help with the balancing of the rifle, while maintaining all the strength.
2. The stock has been fully prepped for bedding short of filling with modeling clay. I will be bedding the tang, along about 90% of the sides of the action, the front mounting pillar area and the recoil lug. I will also be bedding the fore end and keeping the barrel free floated. This will take place after the fore end stabilizing has taken place. I will not be using 3M micro-bubbles when I bed the action. I will most likely be using a Pro-Bed 2000 bedding kit for this. If not, it will be Marine-Tex.
3. In order to do this with a non-permanent solution I decided on using Dacron (polyester fiber-fill). I want to be able to add a safety kit for field use at a later date. This will make it easy. I stuffed and compacted the Dacron several times until I could no longer fit anymore. Sounds pretty solid now. Dacron has a sound absorbing property that aids in deadening the sound. Worked out great with minimal added weight. Will balance nicely with the filler in the fore end.
4. The outside surfaces of the stock have been knocked down with 100 grit paper. One thing I wanted to do is take down the sharp lines of the stock. I like the look of the stock personally and did not want to change the look. I just wanted to take the sharpness out of the lines so I softened the edges a bit. I did this because nature has no hard-lines as does this stock and if I am going to camo the stock it just made sense.
I will add some photos in a bit.
783 Stock modifications
Moderators: Scorpion8, ripjack13, John A.
31 posts
• Page 1 of 2 • 1, 2
|
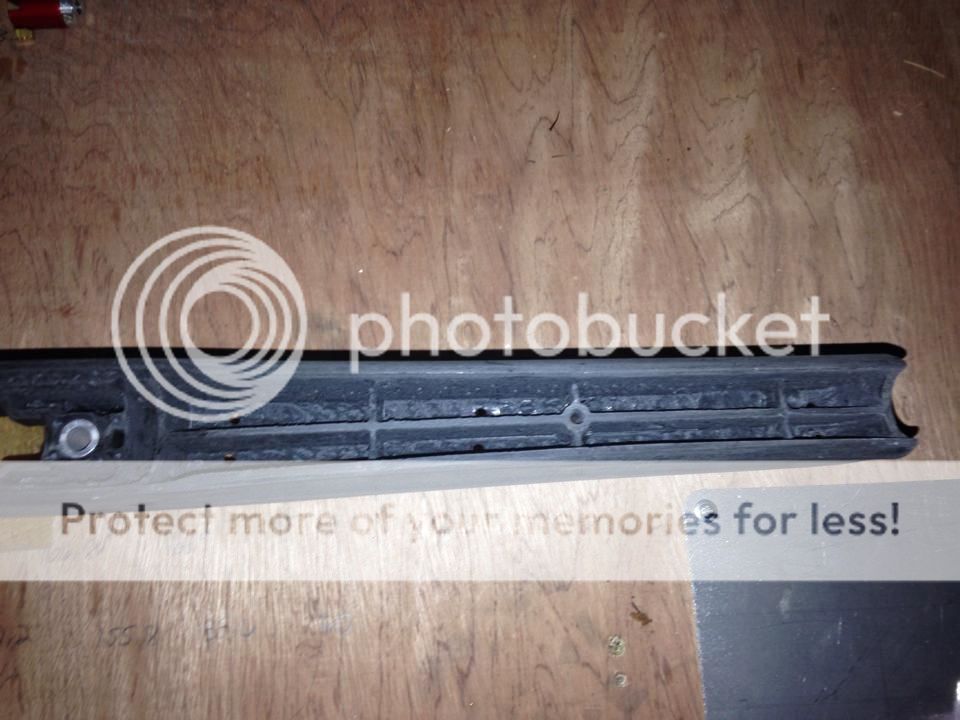
Here are some pictures of the stock before being wiped down w/ acetone and primed.
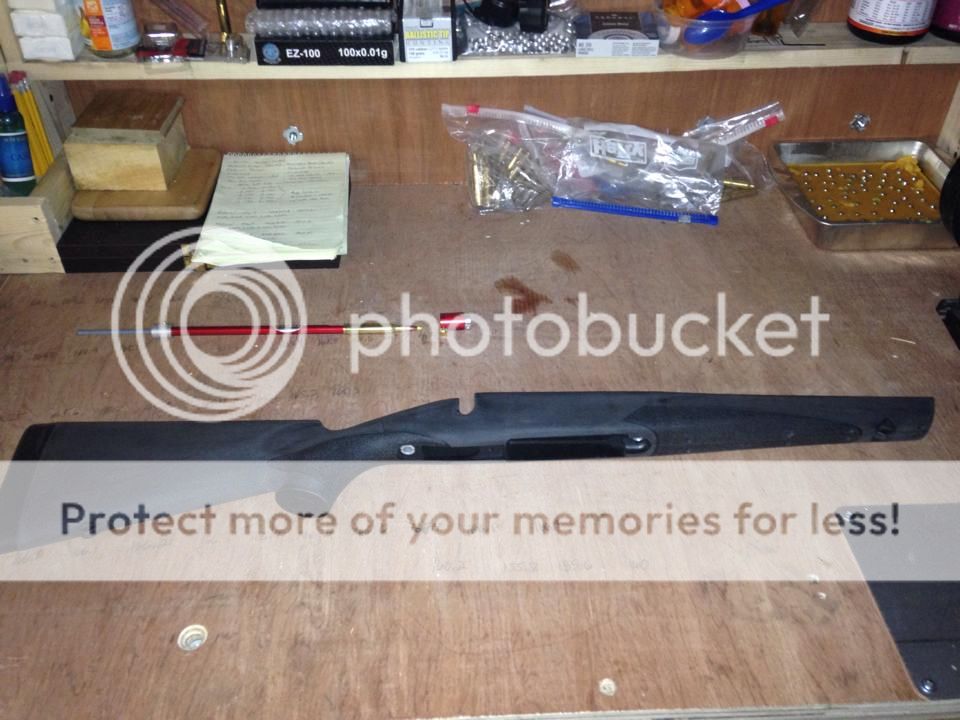 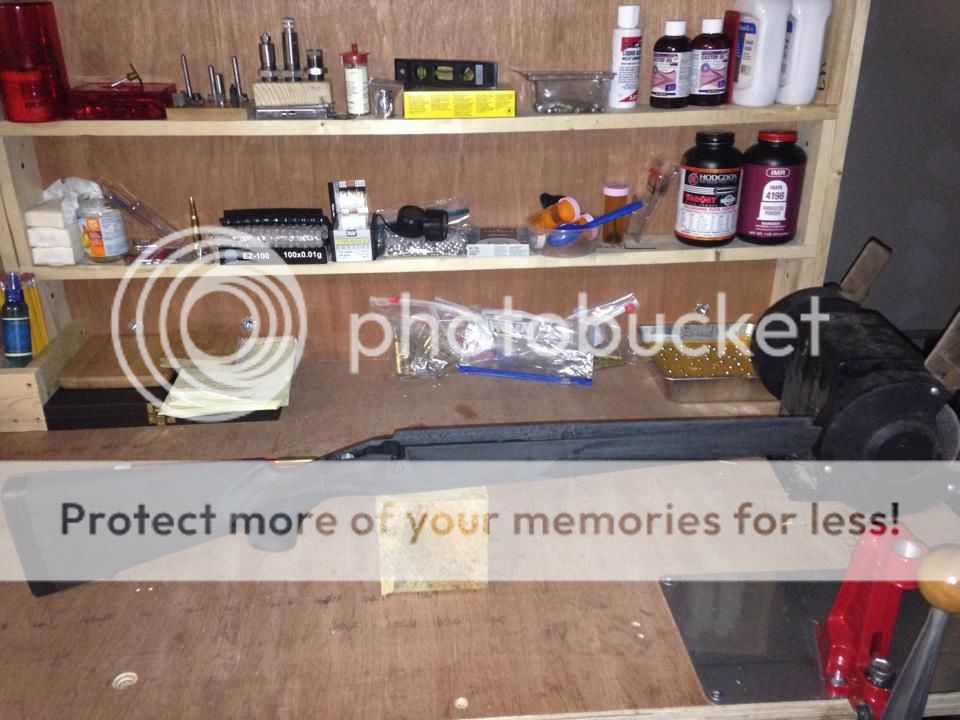   Today I decided to wipe it down with acetone and hit it with some Rustoleum plastic primer. I decided to use the plastic primer primarily because of the high nylon content polypropylene used in the stock. so far the primer is adhering nicely. Next weekend after the primer has fully cured I will apply the first base coat. I plan on stabilizing the fore-end during the week. 1/27/2014 - Alright, here is a bit of camo work for you guys to look at. I call it Fractured Earth. Its an 8 color combo and I think it'll work well in the surroundings here. Im not 100% satisfied with it yet but its almost there. A few more spots to touch / modify and then I'll hit it with t he matte clear. 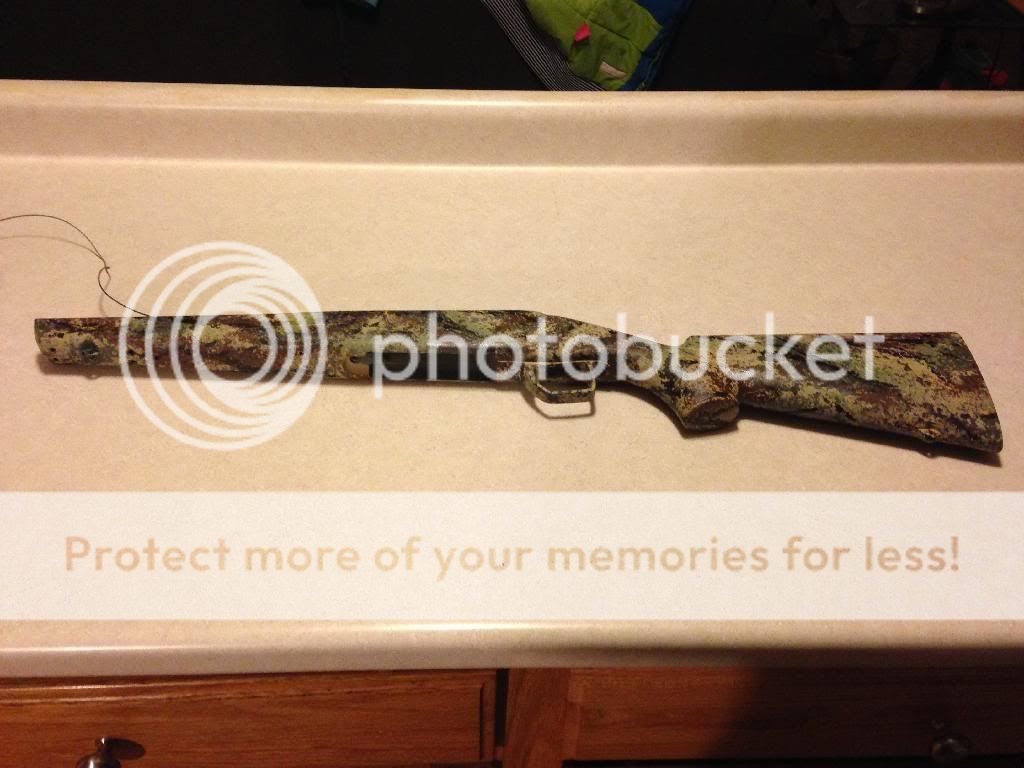 Close up of the colors: 
Last edited by scottishyard on Mon Jan 27, 2014 9:12 am, edited 4 times in total.
|
|
|
Last night the forend stabilization was done. I used a Probed 2000 4oz kit with 3M glass microbubbles to form about 6 oz total. It made a very thick paste that was almost unworkable. It made just enough epoxy filler to fill the voids in the forend with little to no waste. I also pinned the epoxy through the bottom of the stock to make sure nothing comes loose. Pics below:
Pinning 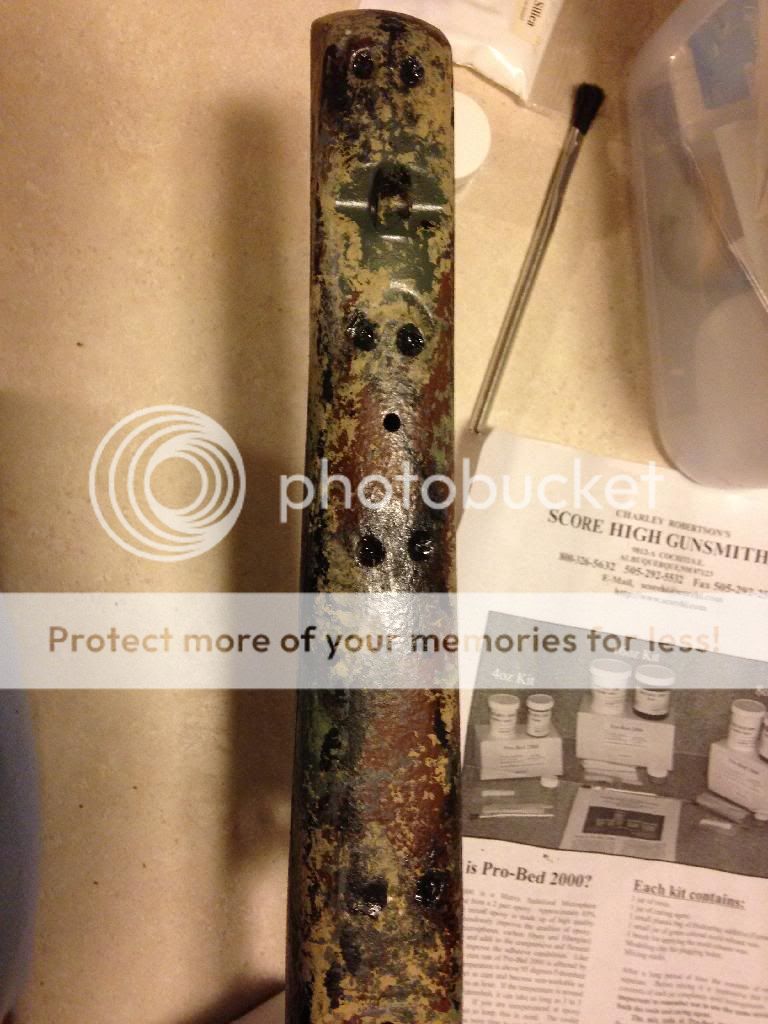 Stabilizing 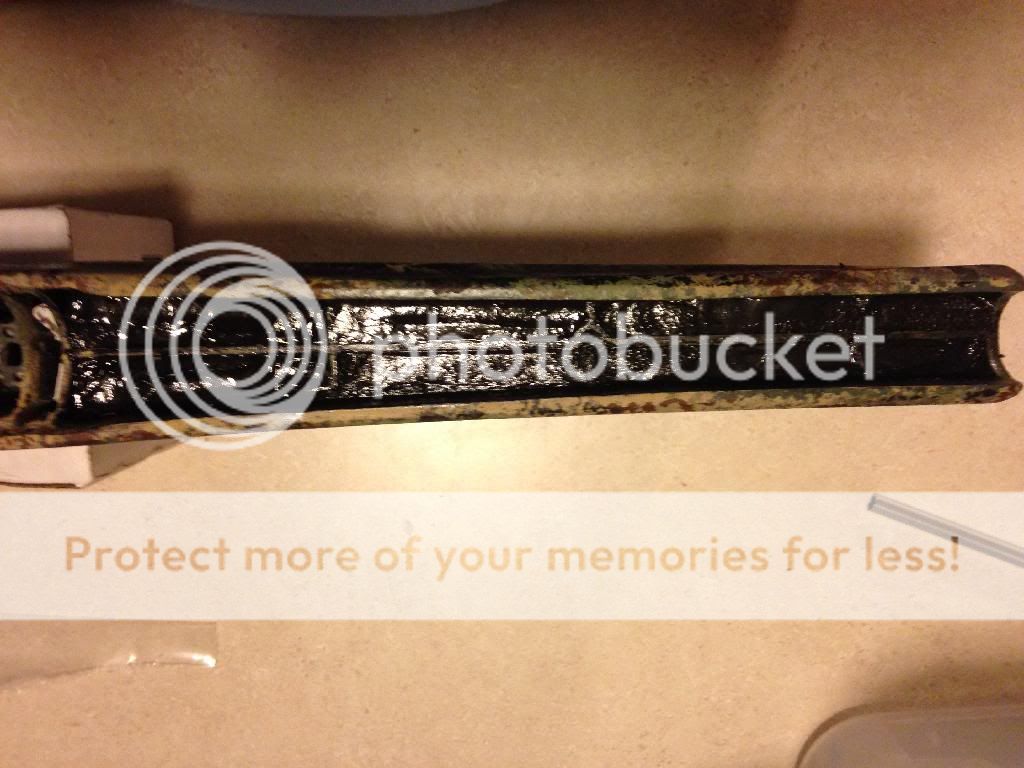 Additional stabilizing 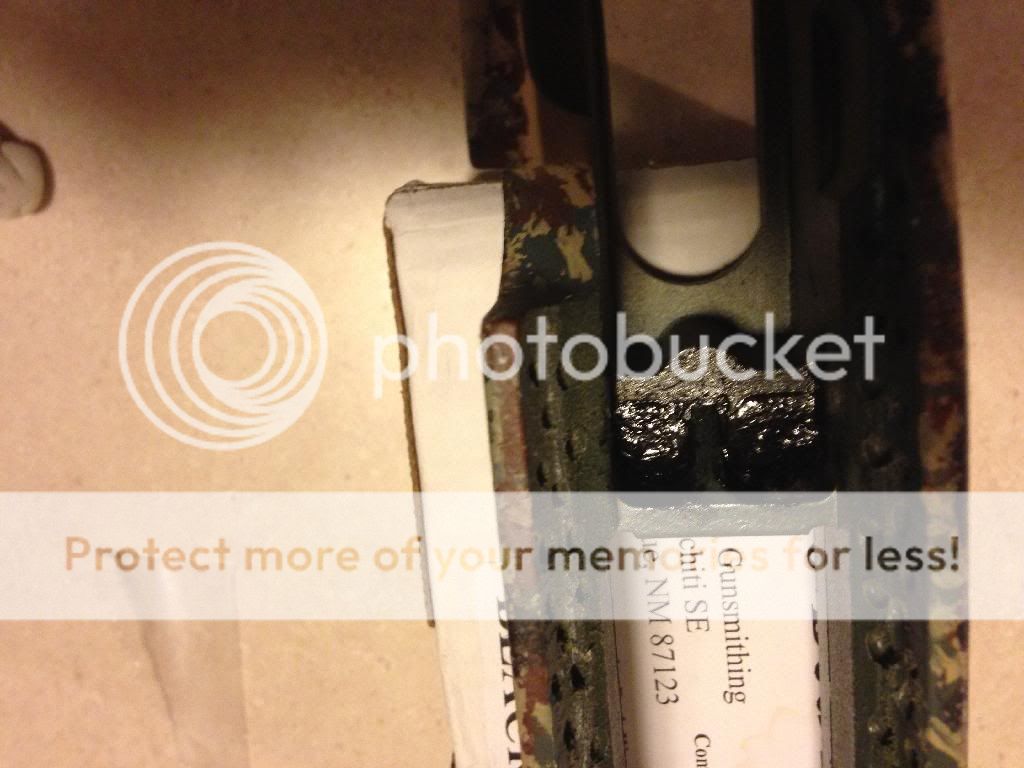
Last edited by scottishyard on Tue Jan 28, 2014 8:45 am, edited 1 time in total.
|
|
|
Welcome to the Remington Owners Forum !!
|
|
Thank You! |
|
|
Looking forward to pics and review of the finished stock. You sound like a man after my own heart. Buy it new and make it better. Just for fun
If you can't sell it don't buy it
|
|
|
Ive added some pictures to this thread of the progress so far. Let me kow what you think. I must say that the feel of the stabilized forend is super solid. The stock felt solid to begin with but this really feels solid as a rock now - really a different feel altogether. absolutely no forend movement what so ever and it didnt add much weight overall. The camo came out great but, I have a few areas that i will revisit once all the bedding is done.
|
|
|
Bedded the action and barrel channel last night. I used 4 layers of painters tape on the barrel to maintain the floated channel. I used 2oz of Marine Tex Grey epoxy w/ the mold release that was included with the Pro-bed 2000 kit. Worked like a charm. I will revisit the bedding as there are a few inconsistencies/voids in the barrel channel and around a few of the edges. I would recommend using a 4oz kit if you are doing the barrel channel as well so that you have more than enough epoxy. I am sure I didnt have enough epoxy in the channel and is the cause of the voids in the barrel channel. My mistake. The action however is bedded nicely, with no voids or inconsistencies. Very happy with that area. Cleaned up the internal edges with a dremel tool this morning. I will add pictures tonight. I will go back later with some JB weld to fill the voids in the barrel channel to smooth that out. JB weld is cheap and since the voids are small and in the barrel channel I see no reason to spend the money on Marine tex to fill the voids. It took me about 2 hours to bed the action last night including applying the tape, modeling clay and mold release agent. I spent about 1/2 hr this morning with the dremel cleaning up and smoothing out the internal edges.
|
|
|
Did you file down your bedding pillars/area or just sand around and pilot drill? If you could upload some pics of the receiver bedding that would be great. Im looking for ideas for mine. Your's looks great so far.
|
|
|
I removed a little area around the pillars and drilled. I will add a bunch of pictures when my son is done with the computer this evening
|
|
|
I have been inspired by your gun and targets past 200 yards. I've just ordered my epoxies and glass microbubbles. I'll post some pics of mine once I get started. I'm thinking about trying something crazy with the finish. Maybe some spray speed painting techniques.
|
|
|
That looks amazing, great work! I'm starting mine today
|
|
|
Well the bedding and stabilizing went well. It was ruff knocking it back out of the stock. Had to do a lot of trimming. I should've put modeling clay in the magazine port. I'm not sure how to shrink my photos so none of those for now. I was a little disappointed when I opened my epoxy kit to find out I had ordered black and recieved brown. I could've easily exchanged it but I'm impatient, so I used it anyway. Probably going to start the paint next week, not really sure what I want to do yet.
|
|
|
I am looking forward to seeing yours! I'll post some more pictures of mine finished to date.
I went to the range this past sunday and was able to verify that my work was done well. I am happy to say the least. I am a left eye dom right hander so, of late I have been re-training my right eye for shooting. results = 300yds, fixed 4x, 30-30 duplex ret, unknown(no performance data) handloads, no consistent aiming reference and I shot a 3.55" group of 2. I know, not much for a group qty but I'll have more in a week or so. Next time at the range I will be concentrating on 300 and 400 yd targets. Most likely home made silhouettes. |
|
|
[quote="DaveD87"]Well the bedding and stabilizing went well. It was ruff knocking it back out of the stock. Had to do a lot of trimming. I should've put modeling clay in the magazine port. quote]
I used masking tape and just peeled most of mine away before it was fully dry. The little that had set was easily removed with a dremel and a cutting bit. |
|
|
I wish I would have tried the tape. I was using my harbor freight "dremel" and it started making scary sounds near the end of prep. So come time for clean up I got out my razor knife and sand paper. I left just a minimal amount of material behind to eliminate the tiny bit of play I had in my mag. I still haven't decided what I want to do as far as paint so for now she's black.
|
|
|
Next week I will be adding a Scofield Industries 783 prototype Picatinny rail to the rifle. I know its not stock mod related but, pics to come.
|
|
|
Back to stock mods. I have some Kydex on the way to produce a cheek rest.
|
|
|
I would like to see!!! I braved up and tried something wild on the stock
|
|
|
DaveD87, that looks awesome! What did you use on the stock?
USMC 83' - 87'
NRA Member Indiana & Utah CCW Are we there yet? |
|
|
Scottishyard, yours looks great too! What did you use to camo your gun?
USMC 83' - 87'
NRA Member Indiana & Utah CCW Are we there yet? |
|
|
Wow is that a snakeskin pattern. Would love to know how you do that.
|
|
Could someone please explain this to me. I can't picture where you stuffed Dacron. Did you fill the fore end with Dacron then glass over that? |
|
31 posts
• Page 1 of 2 • 1, 2
Return to Remington Bolt Action Model 783
Who is online
Users browsing this forum: No registered users and 0 guests


